A JOIN is used to combine rows of two or more tables based on a common field between them. Joins are used to access data from multiple tables and represent that data as a separate combined table. There are many types of joins. LEFT JOIN, RIGHT JOIN, FULL JOIN and INNER JOIN are among them.
For example, let’s consider the two tables; Order and Product. The Order table would have have a field to represent the product. Generally, this would be the Product ID. If we need to access the details of the order and the details of the product of that order, instead of querying two tables, we can create a join between the tables. The Order table would be connected to the Product table using the product_id field of the Order table and the id field of the Product table. The joined table would include data from both these tables, based on the type of JOIN defined in this JOIN relationship.
Zing gives you the capability to create joins between multiple tables or views. You can create a single JOIN or a set of JOINS. Zing Data creates an internal representation of this JOIN helping you avoid storage costs and administration overhead.
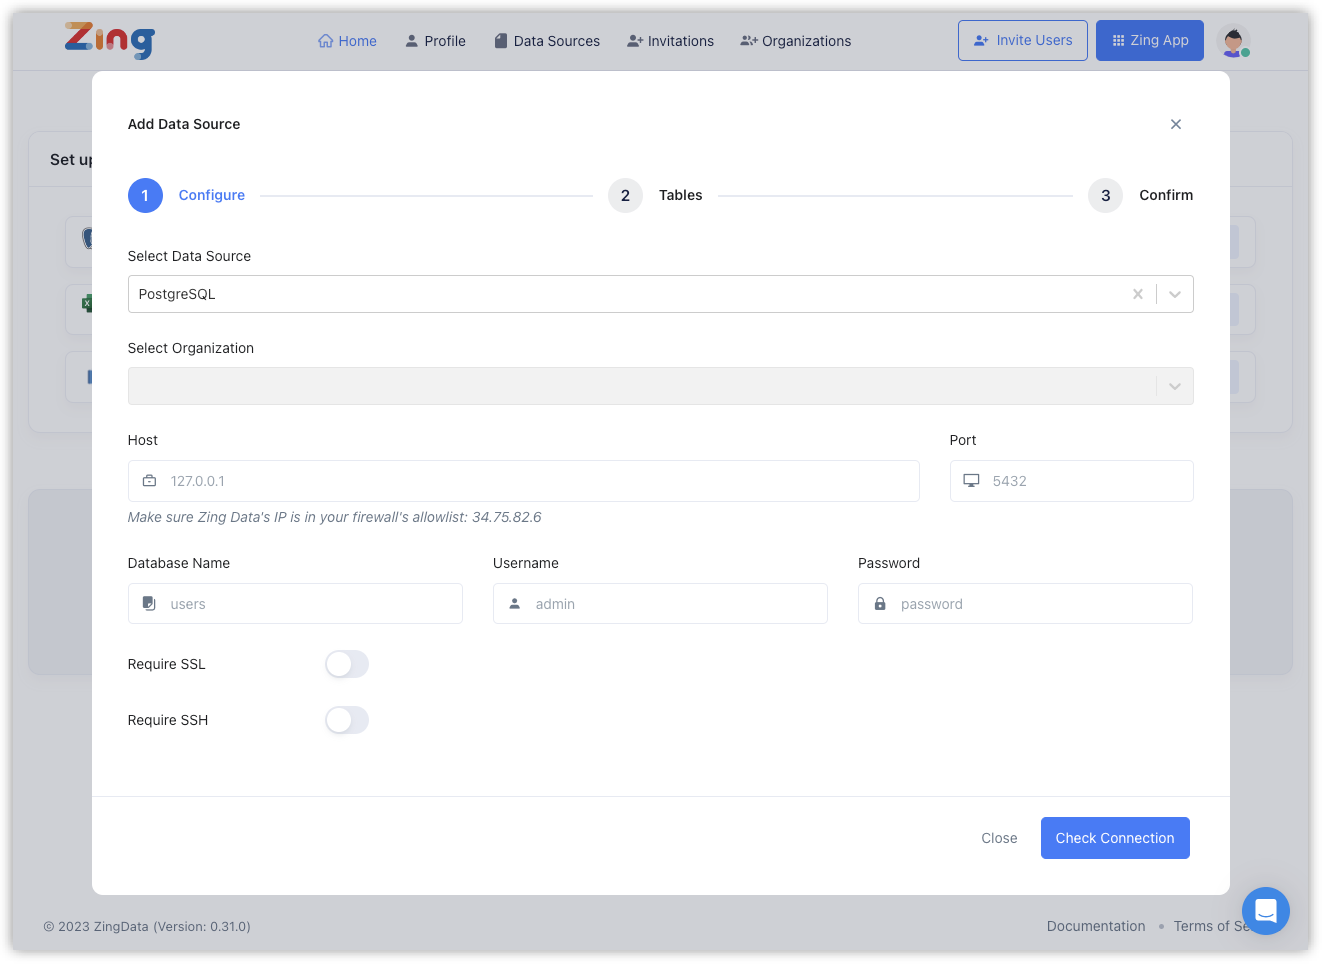
Now click on Data Sources on the navigation bar where you can see the list of connected datasources.
JOIN type by clicking on the JOIN icon and selecting the type from the dropdown.JOIN with more than two tables, you can drag the next table and create a connection by following the same steps above.
JOIN and click “Save”.JOIN will be validated and saved. Next, let’s look at how to query this joined table.Navigate to the Zing App.
JOIN will be available for you to start querying.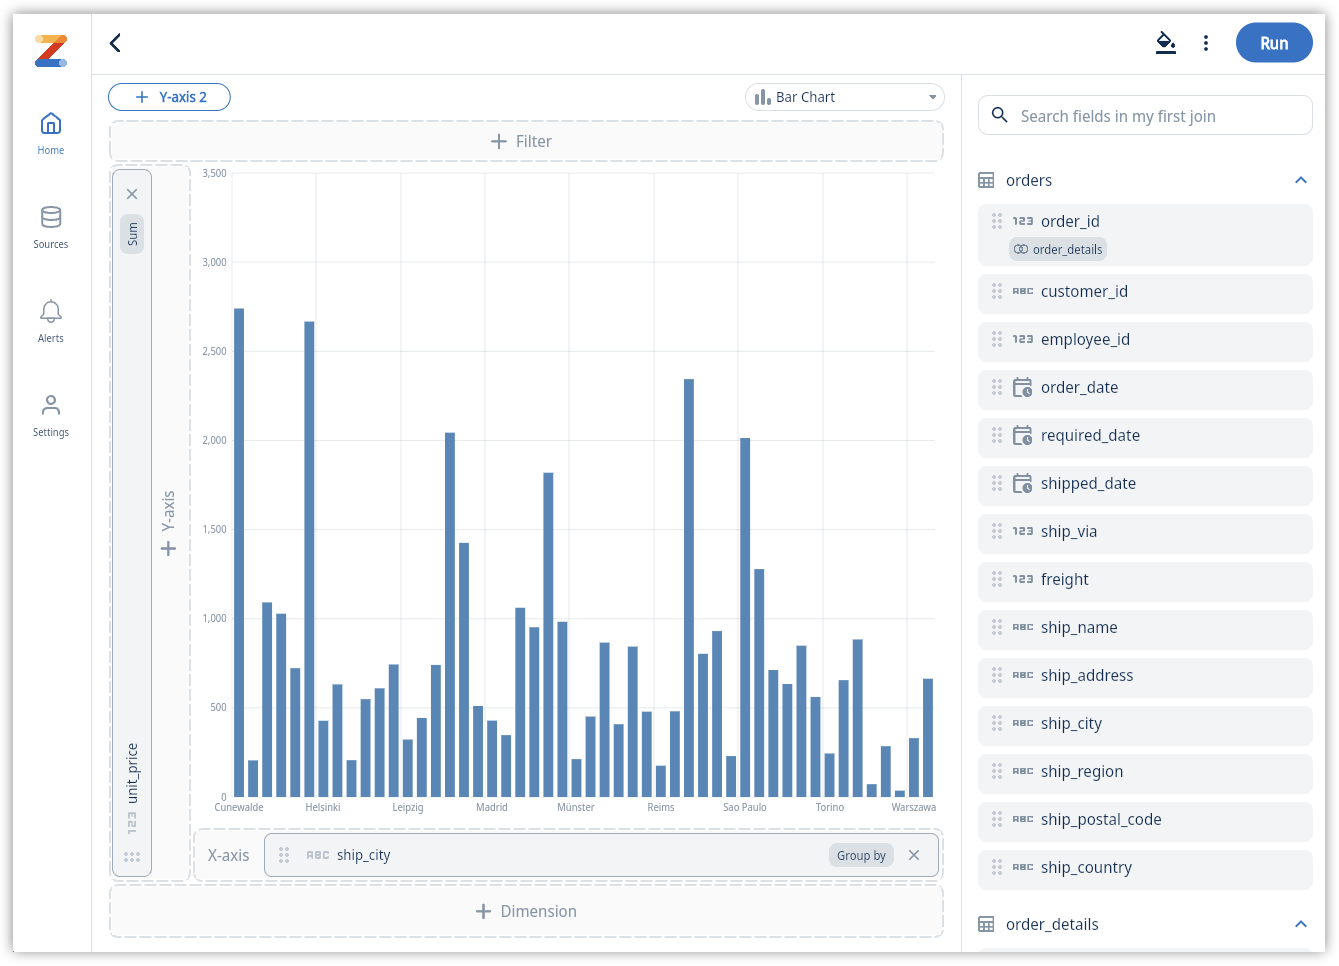

And that’s it! In a few easy steps, you’ll be able to query multiple tables/views together with the use of JOINS enabled by Zing.
Available on iOS, Android, and the web


Learn how Zing can help you and your organization collaborate with data
Schedule Demo